Watch the Video
Step 1 – Open the WordPress Customizer
- From your WordPress dashboard, click Appearance → Customize.
- The WordPress Customizer will open with your site preview on the right.
Watch the Video
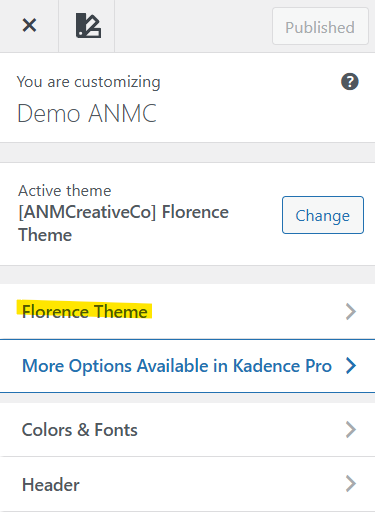
- In the Customizer panel, click Florence Theme at the top.
- Scroll down until you see Custom Font Settings.
Watch the Video
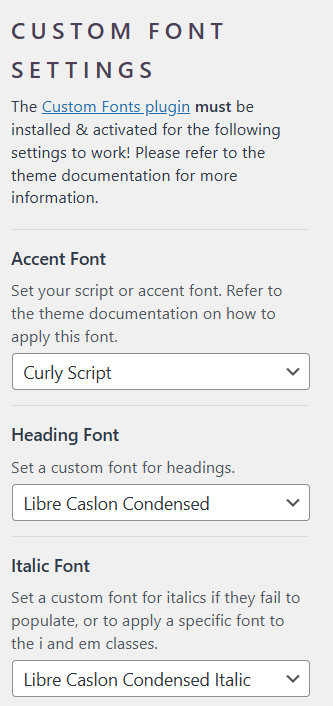
Step 3 – Select Your Accent Font
The Accent Font controls the decorative script font used in highlight areas throughout the site.
Examples include:
- Script headings
- Stylized accent text
- Decorative elements in hero sections
To change the accent font:
- Open the Accent Font dropdown.
- Select the font you uploaded earlier (for example, Curly Script).
Your site preview will update instantly on the right side.
NOTE: If you don’t wish to use the uploaded fonts as your headings, please CLICK HERE.
Step 4 – Select Your Heading Font
The Heading Font controls the font used for headings across your site, including:
- Page titles
- Section headings
- Blog post titles
To change it:
- Open the Heading Font dropdown.
- Select one of your uploaded fonts.
The preview will update automatically.
Step 5 – Configure the Italic Font
The Italic Font is used for text that has italic styling applied. This was included in the theme to ensure italic text displays properly, because some custom fonts do not automatically include italic variations.
For example:
- Quotes
- Emphasized text
- Text styled using the italic or
<em>formatting
To change it:
- Open the Italic Font dropdown.
- Choose the italic version of your font.
When applied, this font will automatically appear wherever italic styling is used.
Step 6 – Preview the Changes
You can immediately see the effects of your selections in the live preview window. For example, some pages (like the About page) may include italic text, allowing you to see how the italic font displays. If you switch the italic font to a non-italic version, you may notice the unique styling disappear.
Step 7 – Publish Your Changes
Once you are happy with your font selections, click Publish in the Customizer. Your fonts will now apply across your entire site.
Using Supplied Fonts Instead of Custom Fonts
Watch the Video
Articles Mentioned
Last updated on March 10, 2026
Previous Article
next Article