Watch the Video
Part 1 – Theme Install
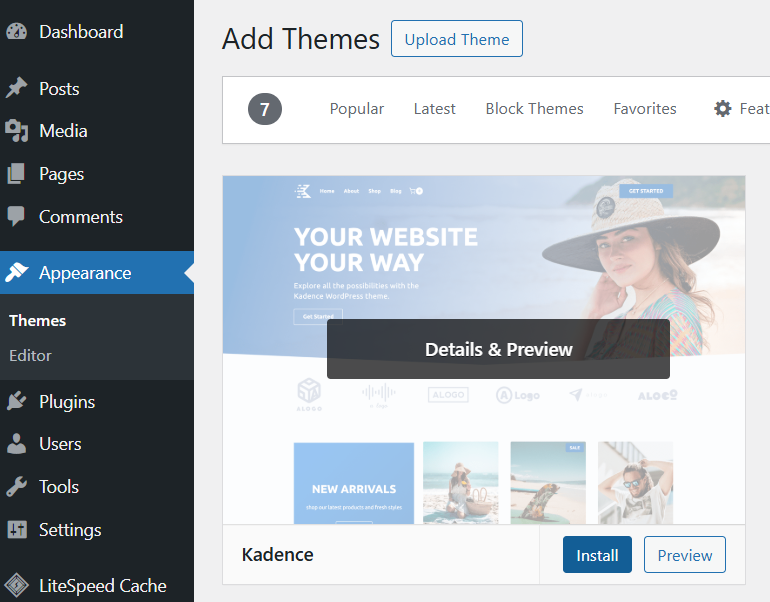
Step 1 – Install the Kadence Base Theme
- In your WordPress dashboard, go to:
Appearance → Themes - Click Add New Theme.
- In the search bar, type Kadence.
- Locate the Kadence theme and click Install. No need to activate this theme!
Your purchased theme uses Kadence features to function properly, so this base theme must be installed first.
Step 2 — Upload Your Purchased Theme
- While still in Appearance → Themes, click Add New → Upload Theme.
- Upload the ZIP file of the theme you purchased.
Important: If your download has in the file name “UNZIP-FIRST-[ThemeName].zip” you must unzip it first. Some downloads include multiple files (documentation, fonts, etc.), so make sure you’re uploading the actual theme ZIP otherwise you will incurr a “missing stye.css” error. - Click:
- Install Now
- Then Activate
- Your theme is now installed and active.
Part 2 – Demo Content Import
These steps import all the content you see on the demo site! Including the page layouts, colors, and other designs.
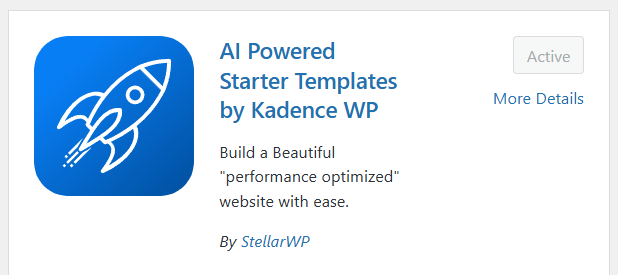
Step 3 – Install the Starter Templates Plugin
After activation, you may see a popup:
“Get started with AI-powered website.”
This is part of Kadence’s starter template system.
If You See the Popup:
- Click Install to install the Kadence AI Powered Starter Templates plugin.
- Continue to Step 4.
If You Do NOT See the Popup:
- Go to Plugins → Add New.
- Search for: Kadence AI Starter Templates
- Click Install → Activate.
Step 4 — Import Your Theme Content
- When the template library opens, choose ANM Creative Co.
- You should have automatically been taken to this page upon the plugin being activated. If not, navigate to Plugins, find in your list of pugins Starter Templates by Kadence WP, then click View Template Library.
- Alternatively, you can also get to this screen from Site Assist → Starter Templates.
- Click on the demo preview of the theme you purchased. This loads the import setup.
- You may toggle the Advanced Settings to review what will be imported. This shows what will be installed through this process. Be sure to keep Import Customizer Settings toggled so the colors & fonts are transferred over.
- Click Finish and Launch when you’re ready.
If you receive a Start Import? popup, this is letting you know any settings you’ve changed in the Customizer (colors, fonts, etc.), will be re-written with what is in the demo theme. Click Start Import.
Step 5 — View Your Imported Site
- Once completed, you’ll see a success screen. Click See My Site.
- Your demo content is now visible!
- Please review these important notes after importing:
For some themes, some fonts may look incorrect until they’re fully installed and configured – which is covered later in these tutorials.
Navigation menus may also look off due to the number of pages imported. Later in these tutorials, we will cover updating and assigning menus.
Articles Mentioned
Last updated on March 7, 2026
Previous Article
next Article